How to Do Gel Nails at Home: Step-by-Step Guide for Beginners
Everything you need to know to do gel nails at home: careful prep, thin coats, correct curing and the small details that help your gel manicure last.
K By Kristina Strilets
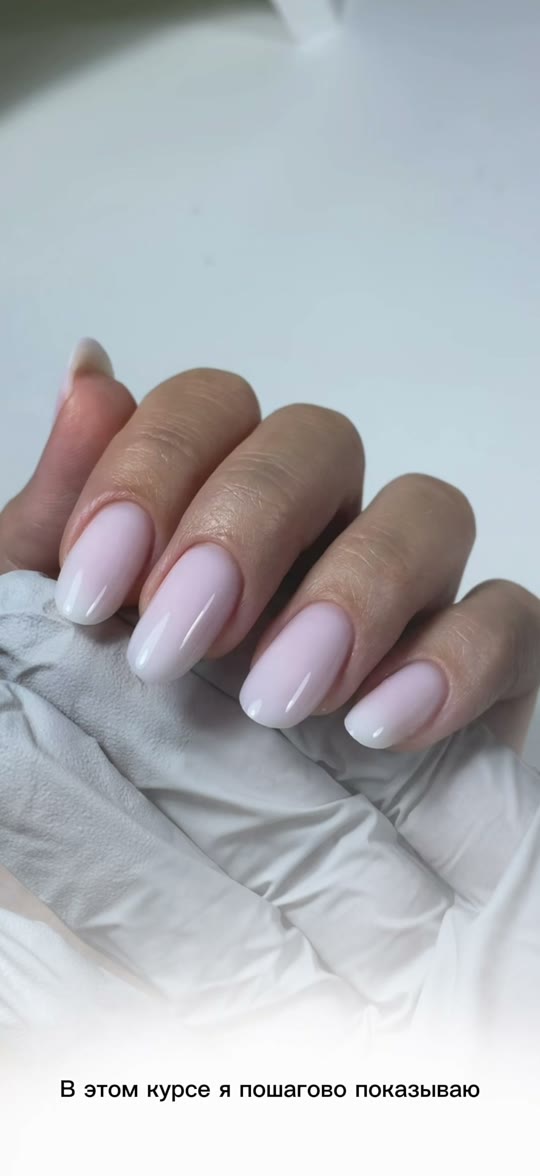
A glossy gel manicure that stays chip-free for weeks is one of the most satisfying things you can learn to do for yourself. This guide is for beginners who want to understand how to do gel nails at home with gel polish on their natural nails, cleanly and safely. You will learn what to prepare, how to prep your nails, how to apply each layer, how long to cure gel polish, and which mistakes cause lifting and chipping.
Gel polish is not difficult, but it rewards precision. Most problems come from rushing the prep or applying layers that are too thick, so take your time, especially the first few times.
Before you start: gel nails at home for beginners
A gel manicure has three main layers: a base coat that bonds to the nail, a color gel, and a top coat that seals and adds shine. Each layer is cured (hardened) under a UV or LED nail lamp. Unlike regular polish, gel stays soft until it is cured, which gives you time to fix mistakes before you put your hand in the lamp.
A few safety basics to keep in mind from day one:
- Work in a well-ventilated room and keep products away from children.
- Avoid getting gel products on your skin; uncured gel on skin can cause irritation or an allergic reaction.
- If you have sensitive skin or a history of allergies, consider a patch test and read the product's safety information first.
- Use the lamp type and cure times your gel brand recommends.
What you need for a gel manicure at home
- A UV or LED nail lamp compatible with your gel products
- Base coat, color gel polish and top coat
- A 180-grit file for shaping and a soft buffer
- A cuticle pusher or orangewood stick
- Nail dehydrator or alcohol-based cleanser and lint-free wipes
- A thin brush or orangewood stick for cleaning up mistakes
- Cuticle oil for the finish
Choosing a lamp can be confusing; our comparison of UV vs LED nail lamps explains what to look for.
Step 1: Prep your natural nails
Good prep is the foundation of a gel manicure that lasts. Gel needs a clean, dry, oil-free surface to bond properly.
- Remove any old product. If you are wearing gel, remove it gently first. Never peel it off; see our guide on how to remove gel polish at home.
- Shape the nails. File the free edge with a 180-grit file, moving in one direction to avoid splitting.
- Gently push back the cuticle. Use a pusher to move the cuticle back and lift the thin, clear skin stuck to the nail plate. Be gentle; the goal is a clean nail plate, not aggressive cutting.
- Lightly buff the surface. Remove the natural shine with a soft buffer, using light pressure. Do not thin the nail.
- Remove dust and oils. Wipe each nail with a dehydrator or alcohol-based cleanser and a lint-free wipe. From now on, avoid touching the nail plate with your fingers.
Step 2: How to do gel nails at home, layer by layer
Here is how to apply gel polish at home: the gel manicure at home step by step. Work on four fingers of one hand, cure, then do the thumb separately so it lies flat in the lamp.
- Base coat. Apply a thin layer, rubbing it slightly into the nail. Leave a tiny gap from the cuticle and side walls, and seal (cap) the free edge by brushing lightly along the tip. Cure according to the manufacturer's instructions.
- First color coat. Apply a thin, even coat of color. It may look streaky; that is normal. Keep it off the skin and cap the free edge. Cure.
- Second color coat. Apply another thin coat for full, even color. Cap the edge again and cure. Some sheer shades may need a third thin coat.
- Top coat. Apply a slightly more generous, smooth layer, cap the free edge and cure.
- Finish. If your top coat leaves a sticky (inhibition) layer, wipe it off with a cleanser as directed. Then apply cuticle oil to the skin around the nails.
Before each cure, check the sides and cuticle area. If any gel touched the skin, clean it away with a thin brush or an orangewood stick before curing.
Tip: Thin coats of gel polish are the secret to a smooth, long-lasting finish. A thick layer may not cure all the way through and is more likely to wrinkle, peel or lift. Two thin coats are always better than one thick one.
How long to cure gel polish
Curing time depends on your gel brand, the layer, and the lamp's type and power. As a general guide, LED lamps often cure layers in around 30 to 60 seconds and UV lamps usually take longer, but always check your product's instructions and use the lamp it recommends. Gels and lamps are not always compatible with each other.
Signs of under-cured gel include a soft or gummy feel after wiping, wrinkling, or color that smudges. If you feel a brief heat sensation in the lamp, that can happen with some gels; if it becomes uncomfortable, take your hand out for a few seconds and then finish curing. Thinner layers help reduce this.
Common mistakes and how to avoid them
- Skipping or rushing prep. Leftover cuticle skin, oil or dust is a leading cause of lifting.
- Thick layers. They can under-cure, wrinkle and peel.
- Flooding the cuticle. Gel touching the skin lifts quickly and increases the risk of irritation.
- Not capping the free edge. Uncapped tips chip and peel faster.
- Touching the nail after cleansing. Natural skin oils weaken adhesion.
- Peeling off gel when it lifts. This damages the nail; always remove it properly.
If your manicure lifts within a few days, our guide on why gel polish lifts walks you through the most likely causes.
Aftercare: keeping your gel manicure beautiful
- Apply cuticle oil daily to keep skin and nails flexible.
- Wear gloves for cleaning and washing dishes.
- Do not use your nails to open cans or scrape labels.
- Plan to remove or refresh your manicure as it grows out, rather than leaving it until it lifts.
If you notice redness, itching, swelling, pain or changes in your nails, stop using the products and see a doctor or dermatologist.
Frequently asked questions
Is it hard to do gel nails at home as a beginner?
It takes some practice, but it is very learnable. Your first manicures may take longer and look less even, and that is completely normal. Focus on careful prep, thin layers and keeping gel off your skin. With each attempt your brush control improves, and the results become neater and last longer.
Do I need a UV or LED lamp for gel polish?
Yes. Gel polish only hardens when it is cured under a suitable nail lamp; it will not air dry. Use a lamp that is compatible with your gel products and follow the brand's recommended cure times. Without proper curing, gel stays soft, wears quickly and is more likely to irritate the skin.
How long does a gel manicure last when done at home?
A well-prepped, properly cured gel manicure can last for a couple of weeks or more. How long it lasts depends on your nail type, how carefully you prepped, layer thickness, and daily habits like washing dishes without gloves. If it lifts early, look at your prep and layer thickness first.
Why is my gel polish sticky after curing?
Many base coats, color gels and some top coats leave a sticky inhibition layer after curing. This is normal and helps the next layer bond. After the final top coat, check its instructions: no-wipe top coats should not be sticky, while others need wiping with a cleanser. If it feels gummy, it may be under-cured.
Want a salon-quality gel manicure you can do yourself? Learn it step by step.